This post was meant to go up in July, but alas, it's here now.
I needed a simple birthday cake idea for my 2nd daughter's first birthday party. It needed to be simple. We were going to the U2 Concert in Moncton, NB, Canada the next day and then were having the birthday party on July 31, 2011, the very next day. It takes 2 1/2 hours of just driving time to get home from Moncton and it took a long time for 80 000 people to get down from Magnetic Hill and on the road. We were exhausted the next day, that's for sure.
I needed a simple birthday cake idea for my 2nd daughter's first birthday party. It needed to be simple. We were going to the U2 Concert in Moncton, NB, Canada the next day and then were having the birthday party on July 31, 2011, the very next day. It takes 2 1/2 hours of just driving time to get home from Moncton and it took a long time for 80 000 people to get down from Magnetic Hill and on the road. We were exhausted the next day, that's for sure.

I went on my Sweet Treats board on Pinterest (which any of you should join, because it's FREE and amazing - you can follow me, just click on the "Follow Me on Pinterest" button on the top of this blog) and found the White Chocolate Brownies Recipe that I've wanted to try for some time now. This was the perfect excuse! The recipe was found here and I just doubled it to make more of it, so I could put it in a round form to make the cake. The recipe below is adjusted for my cake, but you still have to double it!
Prep Time: 15min
Cook Time: 33min
Ingredients
125g butter, chopped
250g white chocolate chips
1/2 cup brown sugar, firmly packed
2 eggs, lightly beaten,
1 1/4 cups plain flour, sifted
125g butter, chopped
250g white chocolate chips
1/2 cup brown sugar, firmly packed
2 eggs, lightly beaten,
1 1/4 cups plain flour, sifted
Use a 9 inch cake pan. Generously spray with non-stick baking spray or line with paper cases. The oven should be preheated to 160 C (325 F).
1. In a microwave safe bowl heat the chopped butter on high for 30 seconds. Stir, then repeat for another 30 seconds - the butter should be melted. Add the white chocolate and heat for another 30 seconds. Remove and stir until blended. You may need a further 20 seconds. Stir until smooth. Cool slightly so that you do not cook the eggs when you add them.
2. Add the brown sugar and the beaten eggs. Stir through.
3. Add the sifted flour and stir through until smooth.
4. Bake in a preheated oven set to 160 C (325 F) for 33 minutes.
5. Remove from the oven and leave to cool in the pan for 10 minutes before removing to a cake rack to cool completely. Lift out carefully.
6. Store in an airtight container for one week. The white chocolate brownie cake can be frozen for up to two months.


2. Add the brown sugar and the beaten eggs. Stir through.
3. Add the sifted flour and stir through until smooth.
4. Bake in a preheated oven set to 160 C (325 F) for 33 minutes.
5. Remove from the oven and leave to cool in the pan for 10 minutes before removing to a cake rack to cool completely. Lift out carefully.
6. Store in an airtight container for one week. The white chocolate brownie cake can be frozen for up to two months.


I thought the cake turned out quite nicely but it was very dense. If you make Brownies, they might be less dense, but I'm not sure. I guess I'll just have to try it sometime! :)


For the decoration of my little girl's first birthday cake, I used Dr. Oetker Ready Rolled Marzipan, that I picked up at our Specialty Food Store in Bedford, NS called Pete's Froutique. They only carry it around Christmas time. If you're lucky enough to live in the UK, you can buy it online here or they might carry it in Tesco etc. You can google how to make Marzipan, too - it's quite simple. Here are the instructions from the Ready Rolled Marzipan on how to put it on the cake:
1. Turn cake upside down for a smoother surface and place onto cake board.


2. Use a knife to thinly cover the cake with cool boiled jam (I used Raspberry jam).


3. Roll out marzipan (this was not part of the instructions, as it was already rolled).


4. Carefully fold disc in half around inner tube (or on your rolling pin).
5. Holding the ends, lift disc, placing it over the centre of your cake.


6. Smooth marzipan over top of the cake and carefully pull out folds while smoothing down sides.

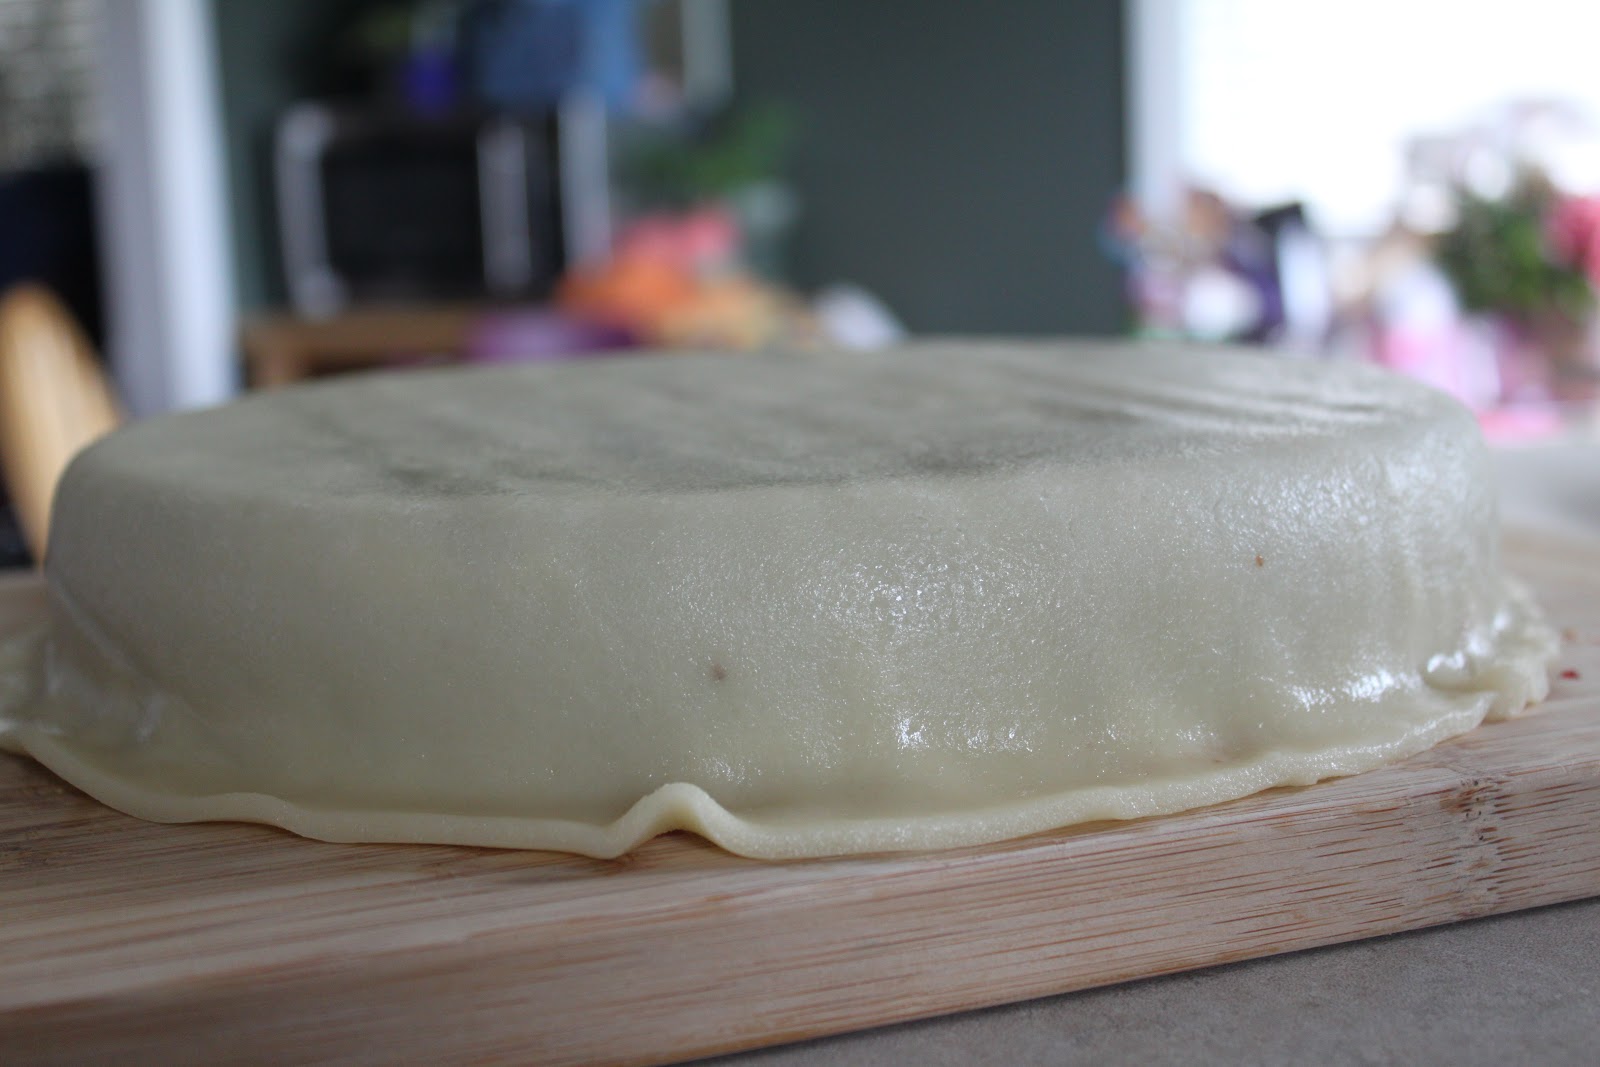
7. For a perfectly smooth finish, cut out any folds with a knife and mooth the joins tongether until they blend.
8. Trim off excess around the bottom of the cake with a sharp knife to give a smooth finish.


9. Smooth surface with palm of your hand.


I had purchased a Carebear Edible Image from Ebay months ago and was ready to use it. Unfortunatley it wouldn't come off the baking paper it was on (even though it was supposed to easily come off), so I really wouldn't recommend it. I just stuck it on the cake, decorated over the torn spots that happened when we tried to pull the image off, took some pictures and then took the image off again and enjoyed the cake. :)


If you try to make your own marzipan and roll it, please drop me a line and let me know how it turned out. Let me know if you ever try the White Chocolate Brownies, and be sure to refer to the original Brownie recipe in the link above, as I've left a couple of ingredients and steps out for the cake!

Linking up with Skip to My Lou